Tutorial 2a - Firmware (Standard) Connecting to a Termite and installing Firmware
Termites have their own onboard software. This software is called Firmware and enables the Termite to function independently. It also allows us to update Termites when ever we want.
This tutorial will show you how to connect to a Termite and update its Firmware.
Step 1 Connecting the Termite to USB
There are two ways to connect a Termite to a computer. A user can either plug them into a standard USB port or use a Micro-USB cable.
Go ahead and plug in the Termite using either one. You should see a green light turn on.
1: Standard USB
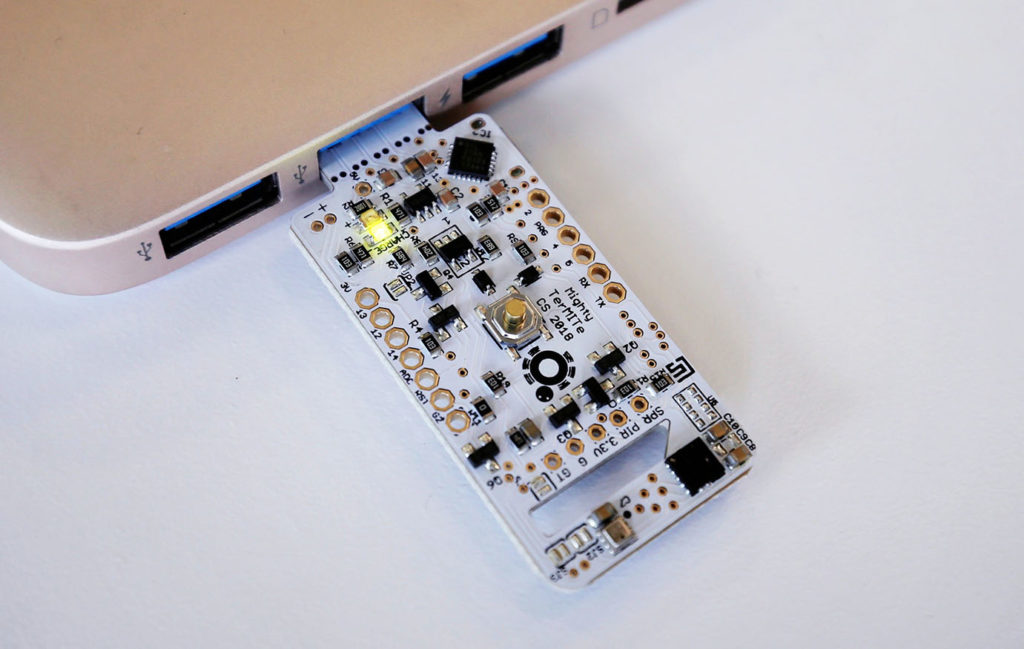
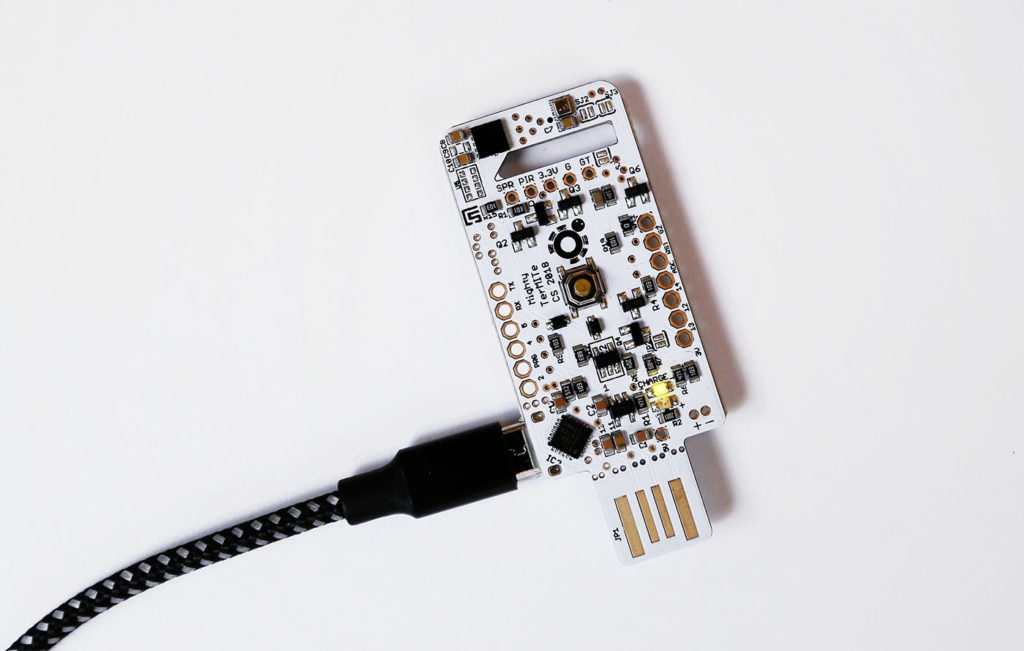
Note: If you find that the physical connection is unstable, try using A Micro-USB cable.
2: Micro-USB cable
Step 2 Open Termite Connect
Go ahead and open the “Termite Connect” software you installed.
![]()
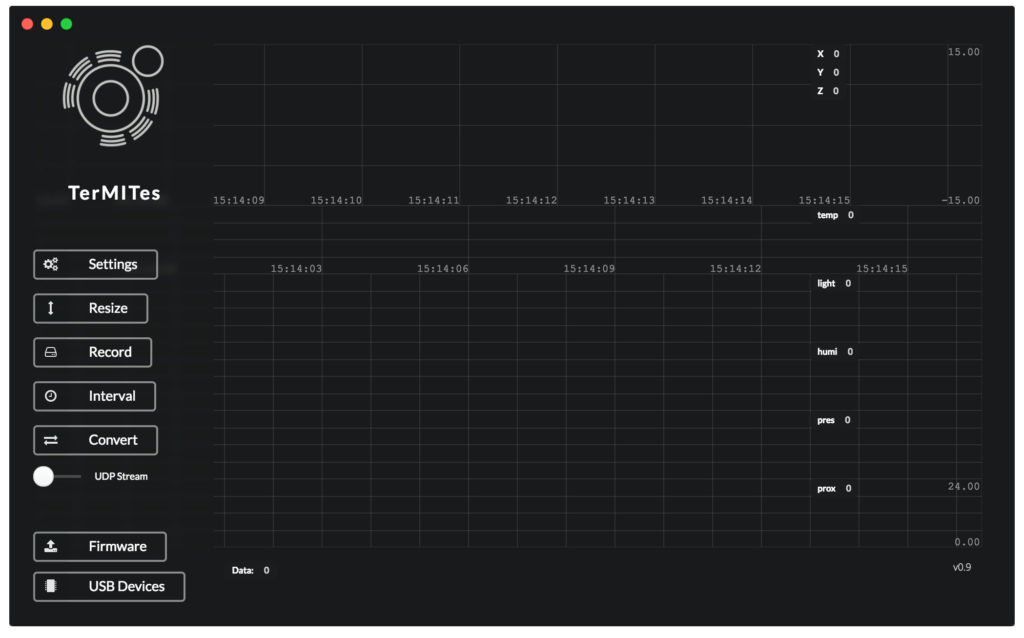
Assuming you have already plugged in your Termite, a window should open that looks like the image below.
If this is the first time you are using this Termite then you will not see any data yet. In order to get data we need to install firmware.
Step 3 Uploading Firmware to a new Termite
If this is a brand new Termite, you must Install the latest firmware. This only needs to be done once, or when you would like to update the Termites software.
Before you continue, make sure you followed the instructions above and that your Termite is still connected to the USB port, and “Termite Connect” is open.
Updating the firmware is a two step process.
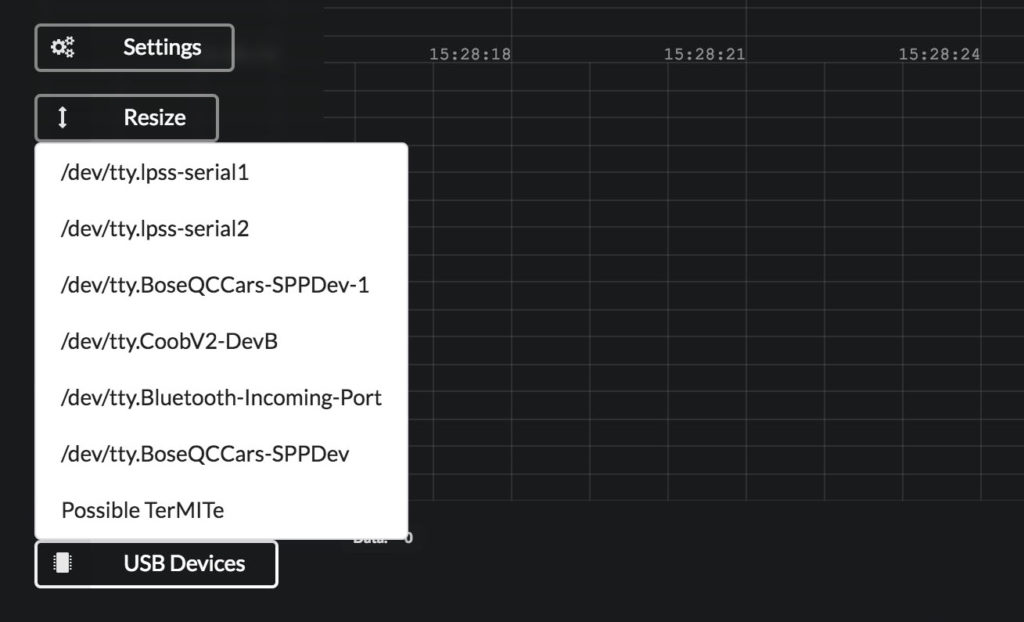
1: Select your Termite from the “USB Devices” menu in the bottom left corner.
Note: Your Termite will either say “Possible Termite” or “Termite”.
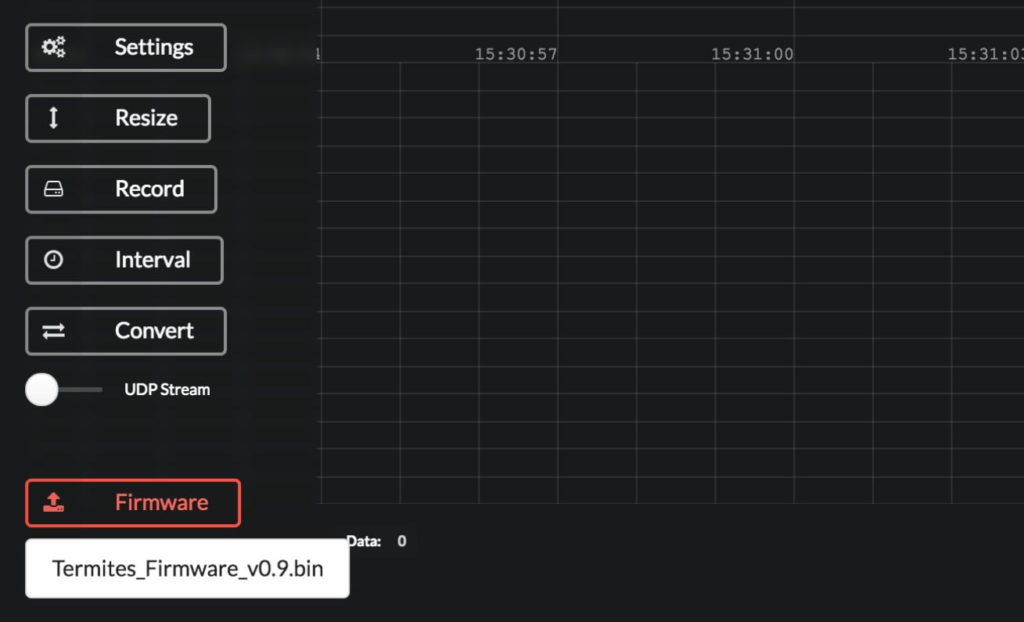
2: Select the latest STANDARD “TMT_Firmware” version
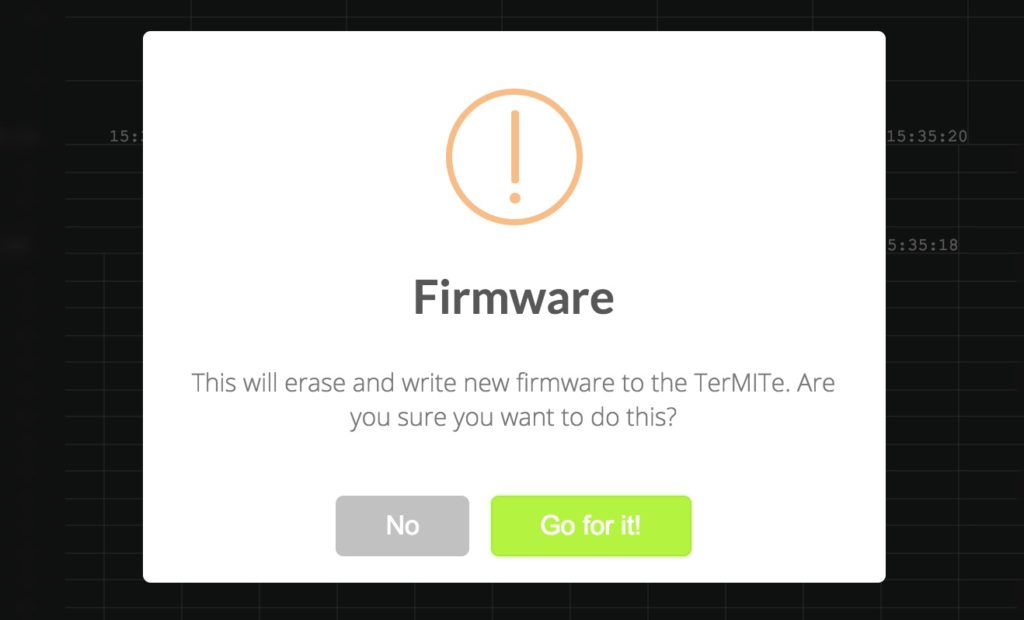
A warning will pop up asking if your would like to overwrite the Termites existing firmware….. “Go for it!”
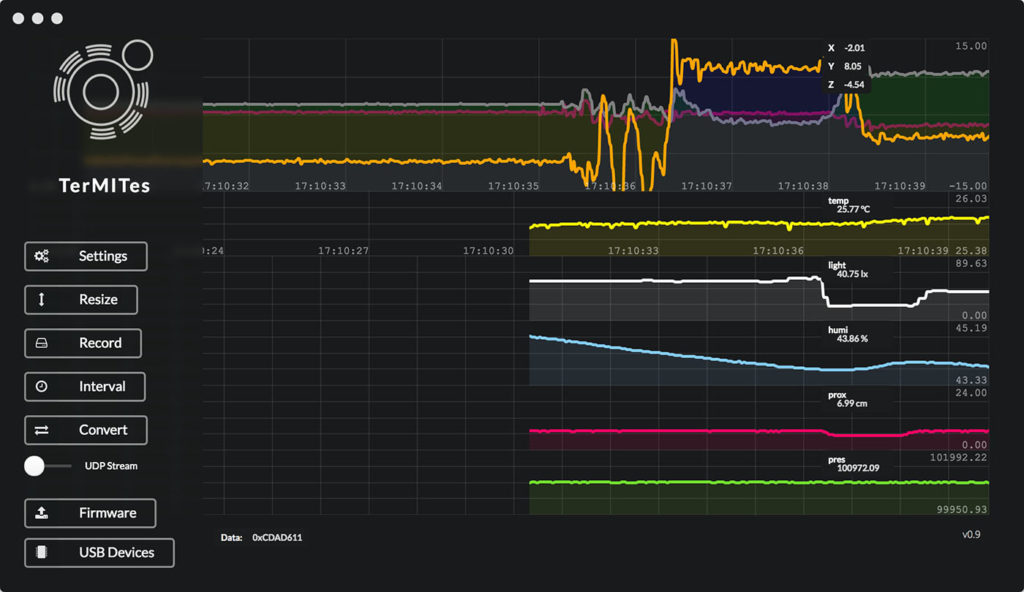
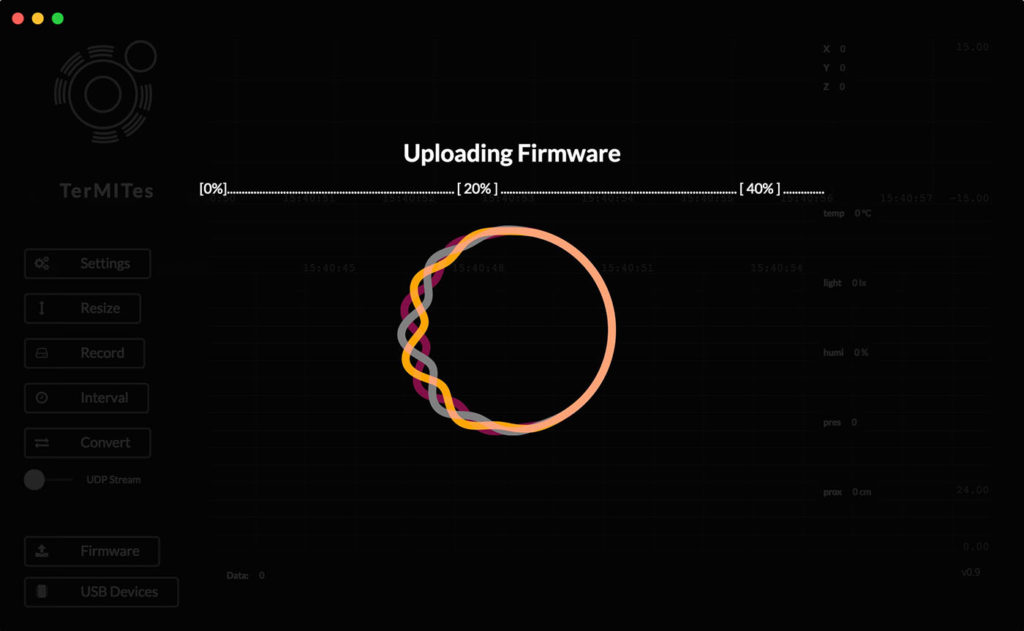
You should now see the a loading screen showing the installation progress.
Below is a video that illustrates the process up to this point:
You will see a notice that says “Memory access, please wait…..”
It will take 30 seconds for the Termite to access its memory for the very first time.
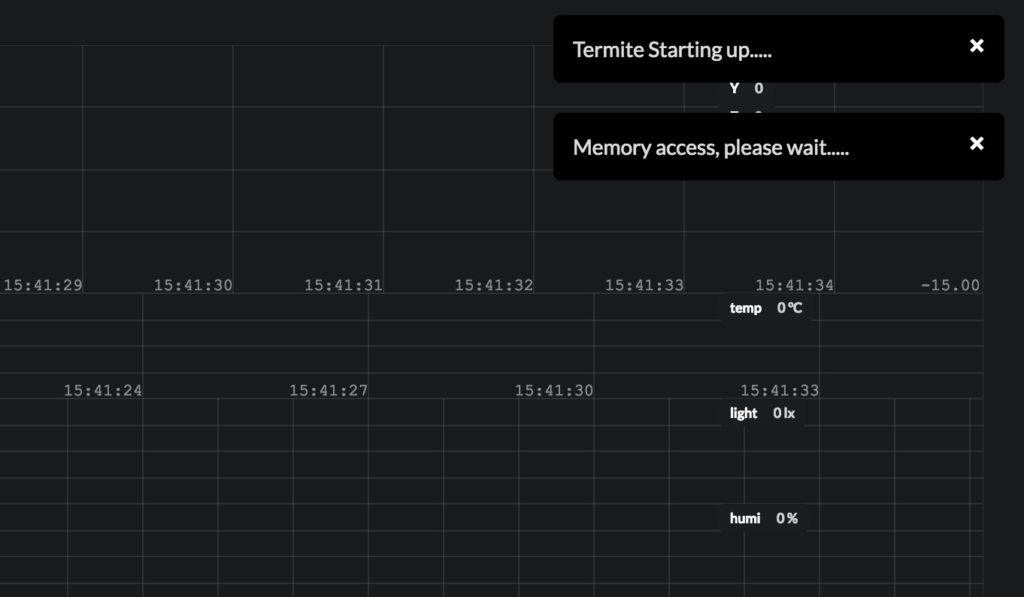
The Termites “blue” light will stay steady for roughly 30 seconds and then go back to sleep. You should see flat lines on the screen.
Now we need to wake the Termite up in streaming mode!
Note: A 30 second wait is only required the very first time a brand new Termite is programmed.
If you see messages pop up every 4 seconds that say “Connecting to MQTT”. This is normal, it just means that this is not a new Termite and that someone has previously configured the Termite for another Wifi network.
3. Wake the Termite up in streaming mode. Hold the button down on the Termite for 2 seconds..
The Termite is able to boot into different modes. Below is an example of each mode:
- Quick press: Reboots the Termite. The blue LED will stay steady for a couple seconds and then it will fall back into sleep mode if .
- 2 Second Press: The Termite will boot into streaming mode and allow you to see streaming data over the serial port in “Termite Connect”.
- 5 Second Press: This starts the Termites wifi access point and will allow you to setup the Termite with your mobile device.